People have projects. Designers have creativity. Interaction is limited during a pandemic.
This is the reality playing out across every state in our country. This reality does not need to put a halt to all your projects. I have personally been designing from a distance for years, before Covid19 was even here, designing kitchens, homes, and showrooms across the country that I had never set foot in. Now I’m not saying that you, as a professional working with a local client, should never set foot in the project space. What I AM saying, is that so much of the work is done away from the space, that we shouldn’t get too hung up on location.
Technology has afforded us so many great ways to connect, create, and collaborate. Today I will share with you the methods I have been using over the years to successfully bring a project from beginning to end with minimal high-touch contact.
#1 Find Each Other

Let clients know that you are OPEN for business.
Design firms need to let potential clients know that they are open and that they have the personnel and resources to see a project through to completion. This seems so simple, but it is really important in this business environment. This can be as simple as a large scale sign in the window of the studio to an internet marketing campaign to hardcopy postcards sent through traditional mail. There are definitely clients out there (looking at their same 4 walls for months now), and they are wondering if their project is even feasible in this environment. Make it easy for them to find you. Let them know you are ready to help them!
#2 Learn about each other
Most designers, including myself, have a checklist of things they go through with their clients at the first information-gathering meeting. The checklist for a kitchen remodel, for example, would include things such as: storage needed, number of cooks (& their heights), appliances, and needs vs. wants to name a few. One method I have found valuable in approaching this all-important info-gathering stage is to send the clients a Design Checklist/questionnaire ahead of time and then set up a time to go over their answers and inevitable questions a few days later.
All of this can be overwhelming for clients, and so in order to digest all of this, I would recommend splitting this stage into 2 parts- Form and Function. Personally, I prefer to talk about function first. Figure out the non-negotiable needs of the space, the pieces that will make their life better. Then, you can more knowledgeably discuss form. With this splitting of form and function, you may want to send two separate packs of information, each with a different focus, to avoid the drinking from a firehose analogy.

Information Overload!
Examples of what I send clients: E-versions of my Dura Supreme Styling Guides (includes door styles/species/finishes/price groups), my Storage Solutions e-Guide, and if applicable, my Bath Furniture Collection e-Guide, along with a Storage Solutions Checklist.
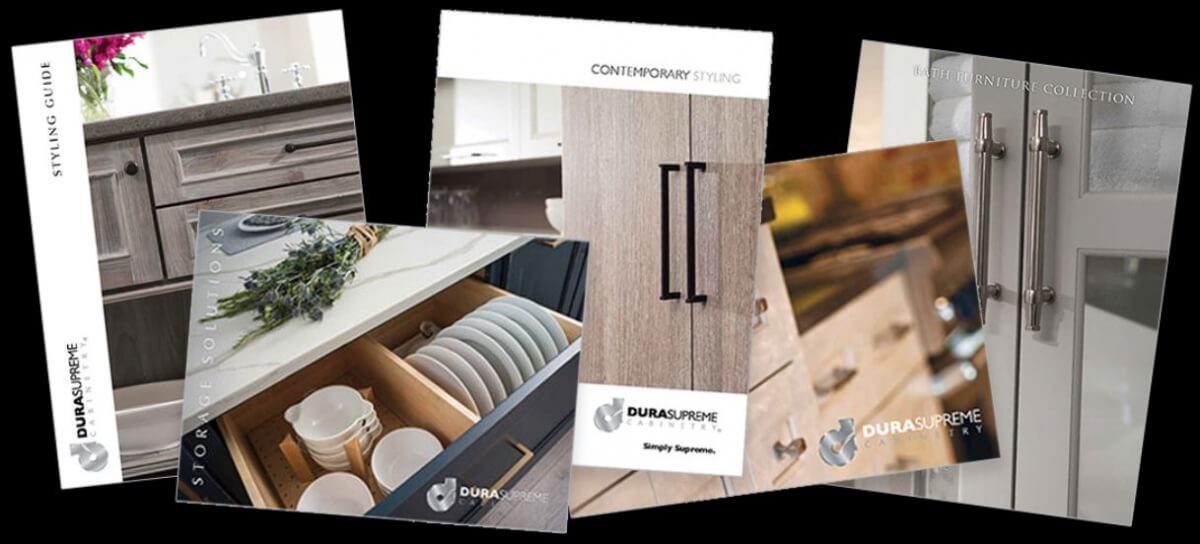
All Dura Supreme E-Brochures that can easily be sent to a homeowner from a distance.
A great way to understand your client’s style preferences is to direct them to the Photo Gallery on your website, to your personal IdeaBooks on Houzz or to your Instagram page. Here are a few of my IdeaBooks (each with 20+ photos) I’ve created on Houzz with images that can serve as great conversation starters:
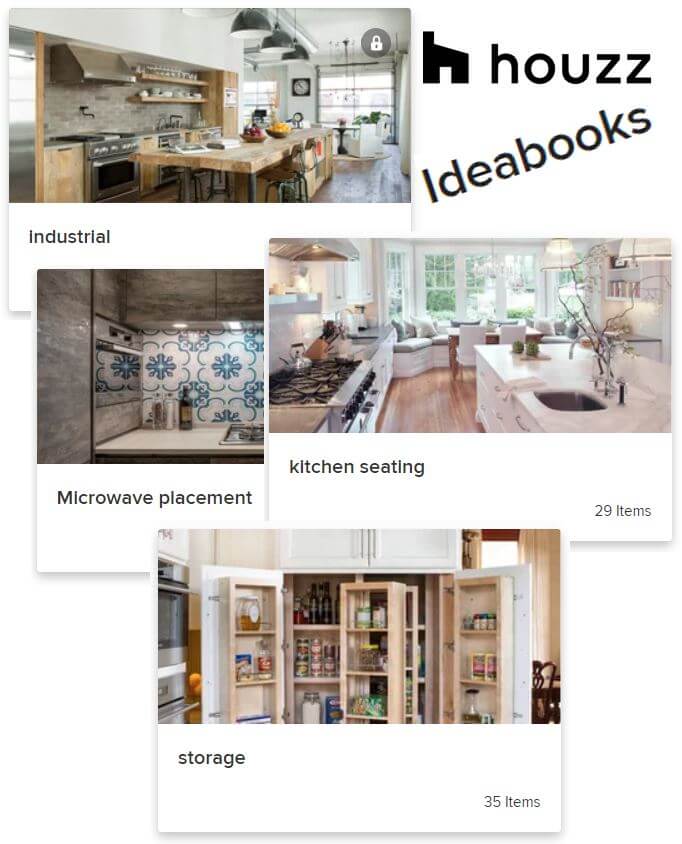
Examples of Houzz Ideabooks that can be shared with clients.
Ask them what style speaks to them. This will be a great way to frame the dialogue when you get to that point.
After they’ve had a chance to digest all that you’ve sent them, connecting to discuss all of their needs can be achieved via conference call, Skype or Zoom meeting. Schedule to ensure all interested parties are available. I don’t recommend clients answer all of the above questions with just an email, as this phase requires a lot of valuable back and forth to really understand the project.

Clients looking through the resources their designer sent them in the comfort of their home
This is also the perfect time for the clients to show you their space. This can be done via a virtual walkthrough using Zoom, or via sharing photos they’ve taken of the space with you (using DropBox for example). In addition to learning about the project, educate the clients on all of the services you will provide, this will help them see the value of your behind the scenes work in the cost of their project.
#3 Measure
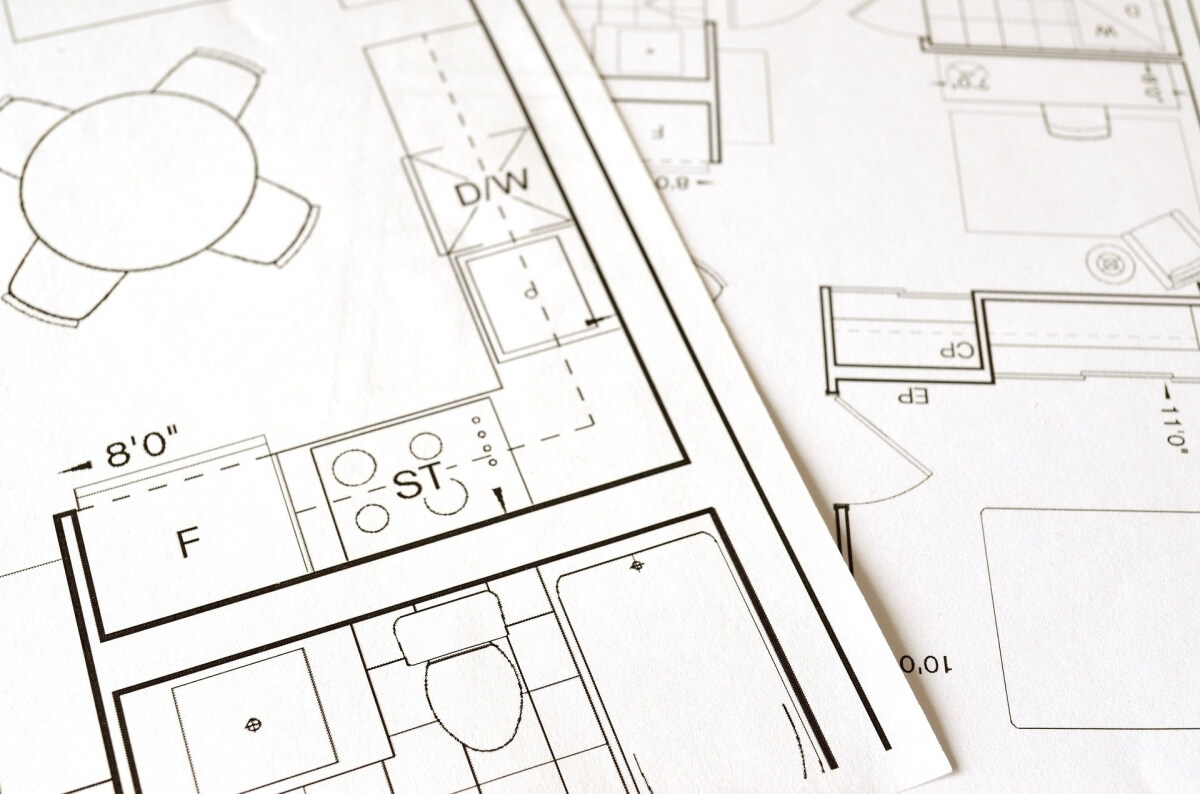
Here is where you will probably need to set foot in the space if the project is local. If it is not local for you, depend upon measurements sent to you from the contractor on site. That being said, make sure this is a post-drywall install measure, and that you design with some wiggle room (i.e. design in a few extended stiles to be trimmed on-site for a perfect, seamless fit).

Double check all measurements with contractor on site.
The week before cabinetry is ordered (the point of no return), I send my floorplan and elevations to the contractor and request another measurement from the contractor to compare against reality and confirm there haven’t been any changes.
#4 Design
Draw up the design and create a floorplan, elevation views, 3D representations, and email these to the clients. There are even tools through 2020 Design software where you can send a link to your clients and they can take a virtual reality walkthrough with VR Goggles and see 360-degree views of their newly designed space. 2020 Design Virtual Reality Tool

Walking through the newly designed space in Virtual Reality goggles
Chief Architect has a tool for Virtual Walk-Throughs as well- Chief Architect Virtual Reality Tool. This, coupled with static 3D views, will give your clients a solid feel for what their new space will look like, and provide great jumping-off points for meaningful Q&A. And all can be done remotely!
The tweaking of the design can occur either through email, phone call, or Zoom, with revision designs being sent electronically from there. Wood species and finish chips can easily be mailed for approval as well.
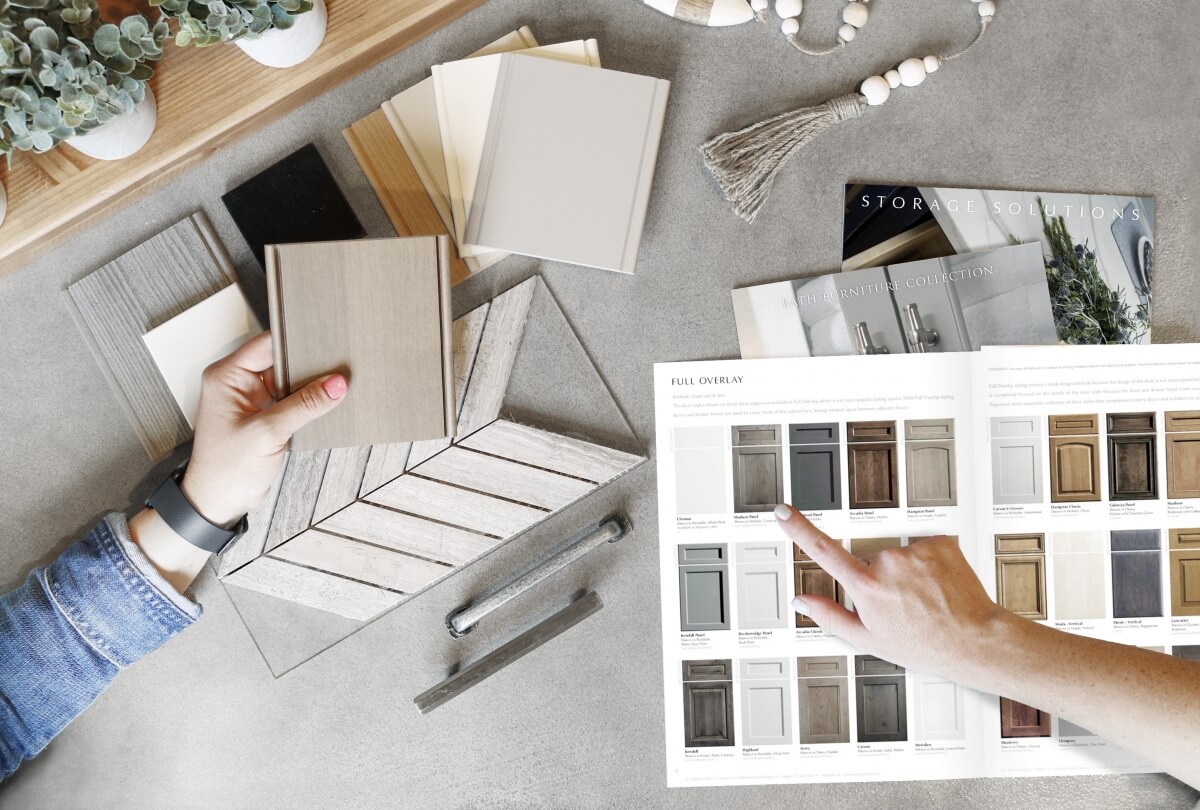
Color samples and brochures can be mailed to clients to assist in selection process
#5 Install
Again, if the job is local, this is a good time for the designer to be on the job site. If it hasn’t already been sent electronically, this would be the time to get printed installation instructions in the hands of your installer. This includes elevation and floorplan views that have installation call-outs as well as separate installation instructions for any cabinetry accessories that are part of the design, such as toe-kick drawers, roll-outs, partitions, hood vents, or configurations of stacked crown moldings.
Make sure installers have copies of floorplans and elevations with install instructions.
In all honesty, this step will not be all that different from years past. For me, with installs occurring across the country, this step is achieved by emailing install instructions and usually a phone call with the installer on install day.
Silver Lining…
As you can see, much of the process can occur without the designer and the client has to be in the same room. It removes the travel time to and from the design studio for the client and most of the travel to the job site for the designer. This dynamic also allows more stakeholders to be present, which can ultimately save time as well since it is easier for everyone to be on the same page. Should you ever need to be on the job site, be prepared to wear a face mask out of respect for your client, as you never know who their circle entails, or who may be asymptomatic.
In many ways, meetings via Skype, Zoom, or conference call can be more convenient for all parties involved. For clients with children, the layer is removed from finding childcare during the meetings or dealing with a restless child in a showroom. Another plus is the digital trail of all conversations and decisions to fall back on. A final note- Dura Supreme’s production lead times have not changed during all of this. We are fairly vertically integrated, meaning that we have a lot of control over our supply chain. This predictability has a lot of intangible value in this unpredictable world!
The pandemic has changed a lot of how business is done. But if the designer approaches these changes as a professional, taking care to skillfully guide clients along the way, we may find that some of these changes eventually become preferred standards of doing business.